Greeting, friends!
Recently, my husband and I did a little DIY project in our sitting room that I wanted to share!
Anyone who knows me knows that I love decorating mantels. And, while we have a fireplace in our great room that I love to decorate, I have wanted to create the "illusion" of one in our sitting room, too ... giving me another spot to have fun with for the seasons and/or holidays.
After weeks of scouring Craigslist, this gem came home with us!
Admittedly, we were pretty clueless how to "properly" attach this heavy surround to the wall. But, after getting a $400 estimate from a contractor to do it for us (um, no thanks), we decided we needed to learn and turned to good ol' Youtube, finding a super easy tutorial.
That's when my husband got to work. He first used his Dremel to cut out the base molding on the back wall so that the surround would sit flush against it. I then placed a thin piece of birch wood on the floor to resemble a hearth.
I then nailed a piece of faux brick panel to the wall, and then my husband mounted three 1" x 36" pieces of wood (or mounting strips) to the wall. He then screwed the surround into the mounting strips ... and voila!
After he was finished, I then painted the faux brick panel with Annie Sloane's "Pure White" chalk paint and added 4" trim panels beside and below the legs and header.
Here is the result! Well the "almost" end result.
I couldn't wait to decorate it ... naturally, a coastal-themed *mantelscape* was in order.
I was happy to dust off our boat for its "maiden voyage" onto our new mantel!
Silver candlesticks from IKEA paired with natural branches finished it off.
And, for the crowning touch above the mirror, I made a little sign ...
encouraging you to "relax" a bit in here.
Over on the left, I placed our duck egg accent chest in front of the window and framed it with my favorite curtains that used to hang in our sunroom.
Another ship came floating in to complete this little vignette:
Over on the right (where the blue accent chest used to sit), I pushed our antique "chalk painted" secretary in from the foyer to balance the weight of the windows on the left side.
After my pieces were all in place, I realized the room needed *something* else ... that's when the bright coral pillows appeared.
I then layered summery floral pillows over them just for fun.
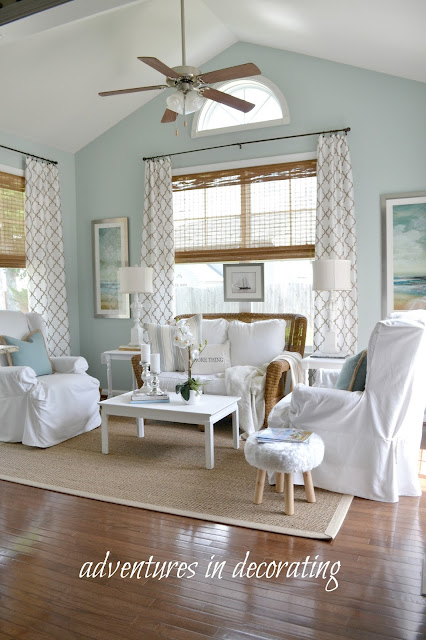
You might have noticed that I brought the seascape prints in from our sunroom, too! Of course, this means that changes had to be made in that room now that I had left it bare ... oops. I'll share those changes soon.
I can't thank my sweet husband enough for helping my vision come to life and, admittedly, can't wait to splash Fall on it and add cozy candles on the hearth ... is that bad?!
So, if you've wanted to add a "fireplace," you can always add the illusion of one by mounting a surround to your wall ... Youtube will teach you how to do it! ;)
Thanks for stopping by ...
 I'm joining:
Savvy Southern Style/WUW


