Happy Easter, everyone !! I hope that you all are enjoying a wonderful holiday weekend with your family and friends.
As for me ... my adventures with painting continue! In fact, I decided to get into some glazing/staining. Thanks to all of your creative projects and fantastic tutorials, I decided to go for it! Jill @ Peanut Butter Plaza, who has created several beautiful pieces explained how she mixes clear glaze with stain, which allows you to "play" with the stain a bit longer on the furniture. I'm sure many of you do this, too ... I like this idea because the stain doesn't set in as fast.
Sooo, I sanded, primed and painted (two coats of BM White Dove) the bench and then let it sit for a few days. Next came distressing ... roughing it up with 80 grit sandpaper here and there and then wiping the entire bench down with a tack cloth to remove the sanding dust. I then mixed the clear glaze (by Valspar) and stain (Minwax Dark Walnut) together, adding a little more of each, until I was satisfied with the color. Then it was the moment of truth ... I slapped the mix on with an inexpensive paintbrush, waited just a bit and wiped it off with old t-shirts. What fun!
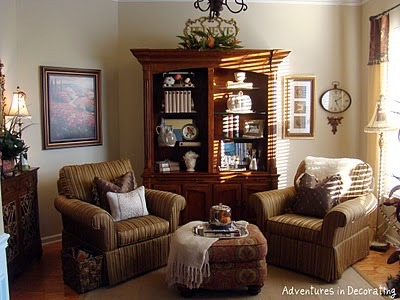
BEFORE:

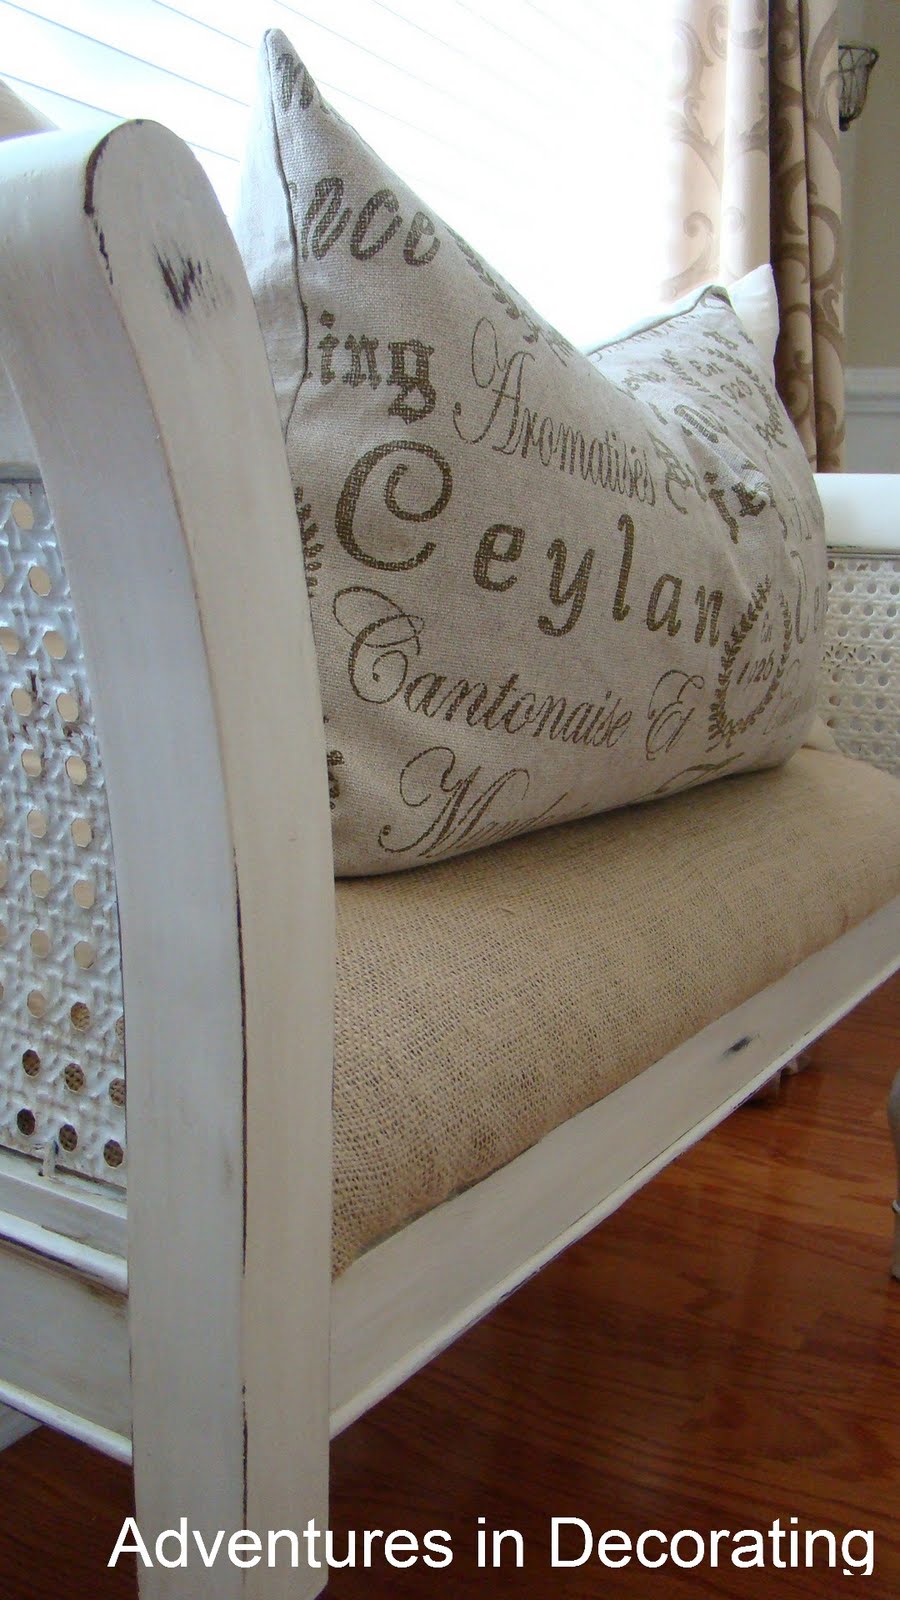
And, here is AFTER:

What I really like about distressing is that there isn't a right or a wrong way to do it! Just sand wherever you want!

I love how much character the glaze adds to the places I distressed:

Even sanding the metal sides here and there was easy. (I also recovered the cushion with leftover burlap.)

Needless to say, I'm now hooked on glazing! And, knowing how my OCD is on the rage, it looks like the fun didn't stop on the little bench (lol) ...

Stay tuned !!
And, HAPPY EASTER !!
Linking up with:
Dittle Dattle/Amaze Me Monday
BNOTP/Metamorphosis Monday
Centsational Girl/Paint Projects
My Uncommon Slice of Suburbia/Tuesday's Treasures
The Lettered Cottage/How To's Party
Savvy Southern Style/WUW
Elements Interiors/Whassup Wednesday
Miss Mustard Seed/Furniture Feature Friday
Linking up with:
Dittle Dattle/Amaze Me Monday
BNOTP/Metamorphosis Monday
Centsational Girl/Paint Projects
My Uncommon Slice of Suburbia/Tuesday's Treasures
The Lettered Cottage/How To's Party
Savvy Southern Style/WUW
Elements Interiors/Whassup Wednesday
Miss Mustard Seed/Furniture Feature Friday
Becca